Pull-Request SOP for NML GitHub
SOP: Pull Requests
-
On the shared remote repository (the one that is on the NML GitHub Organization), make sure that the default/root branch is named
main(that is the convention for all the NML repos on this GitHub Organization). - Make sure your local repository has checked out
dev/<YOUR INITIALS. For example, Max Murphy always develops ondev/MM.- A reasonable approach is to use
feat/<feature_name>, but I have found that academic coding collaborations in this area tend to involve usually at most a few individuals and that it therefore tends to actually just be easier to group things by developer on the side-branches. So, I figured I would write this SOP to unilaterally enforce my opinion in this case. - If you messed up and made changes on your local copy of
main, try this.
- A reasonable approach is to use
- ??? <you’ve made some great contribution that should be merged into
main>- You and your collaborator(s) should determine whether a side-branch is ready to come back into
main. - To the first bullet point in (2), because these are smaller projects, it is easier just to reach out to your collaborator and ask them if it’s cool to merge back into
mainso they are aware this is happening.
- You and your collaborator(s) should determine whether a side-branch is ready to come back into
- After code changes are done on your side-branch, but before you start the pull-request, make sure your side branch is current with the most-recent commit on
main. If you are not current, then rebase your side branch to the latest commit onmainbefore submitting a pull request.- I plan to add some posts about
git mergeandgit rebaseeventually but do not have the time as of this writing. - For now, when merging or rebasing, make your life simpler and use a
gitGUI (e.g. GitHub Desktop or GitKraken or SourceTree).
- I plan to add some posts about
- Submit a pull request from your side-branch back into
main. Guidelines for formatting, if submitting the pull request via the GitHub web browser interface (recommended) are detailed below.
Pull Request Format
The GitHub web interface lets you use markdown to post a formatted body with information about your pull request. The pull request itself can act as a paper trail/informal documentation for the developers so it’s very handy to add information you think may be useful to your future self (such as motivations for adding or removing class properties or methods, and things of that nature). The pull request on GitHub gets an ID and so you can link to it from other tools like the Issue Tracker or Project Management Kanban style boards (I find these boards to be cool, but ultimately overkill for small projects that dominate in academic research).
Start the pull request (Web Interface)
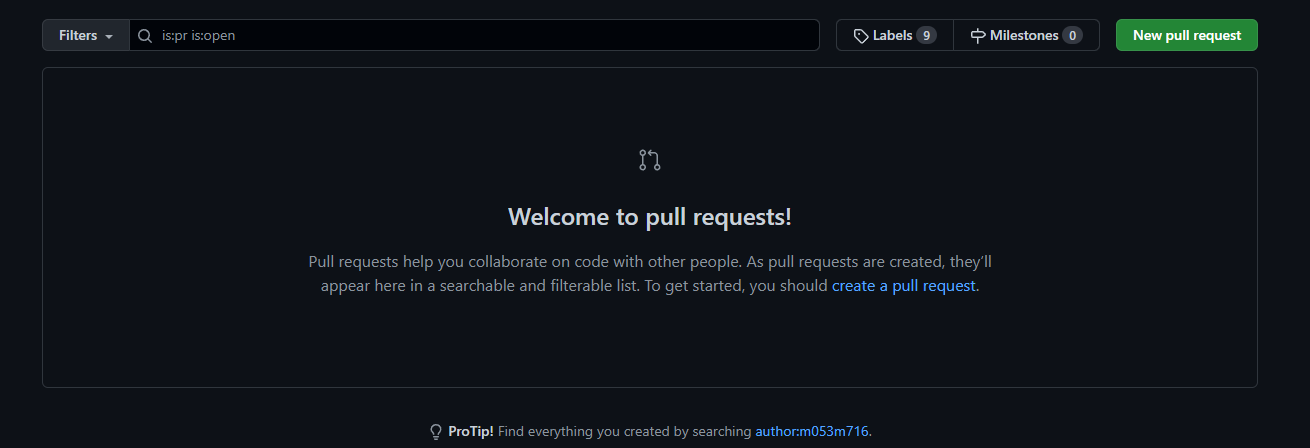
Click the green New pull request button to begin.
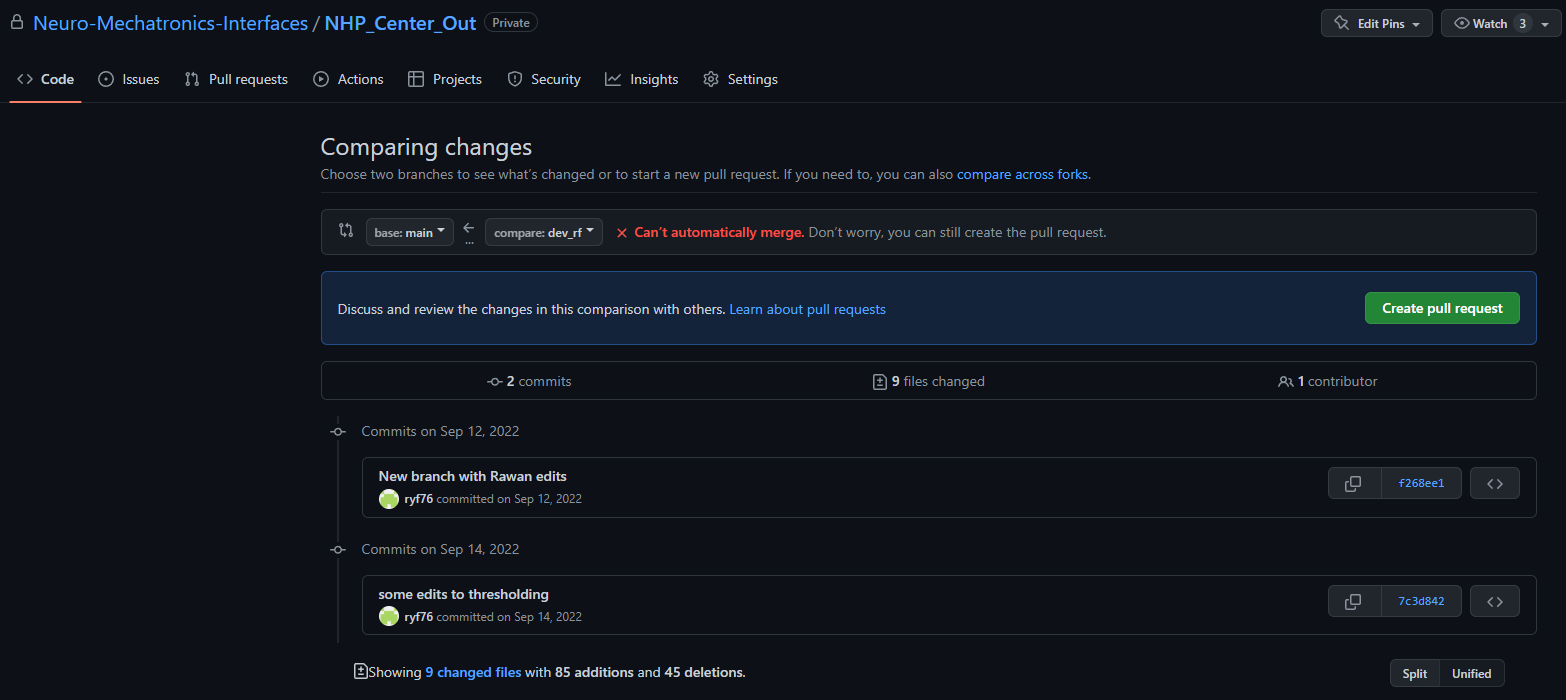
In this case, Max and Rawan were working on some code together, and Rawan’s branch is different from main so she could submit a pull request into main and then Max could review her code changes, allowing him to accept them (and therefore know what had changed) or flag changes that don’t work and indicate where they need to be looked at. You can see how this can speed up collaborative code development.
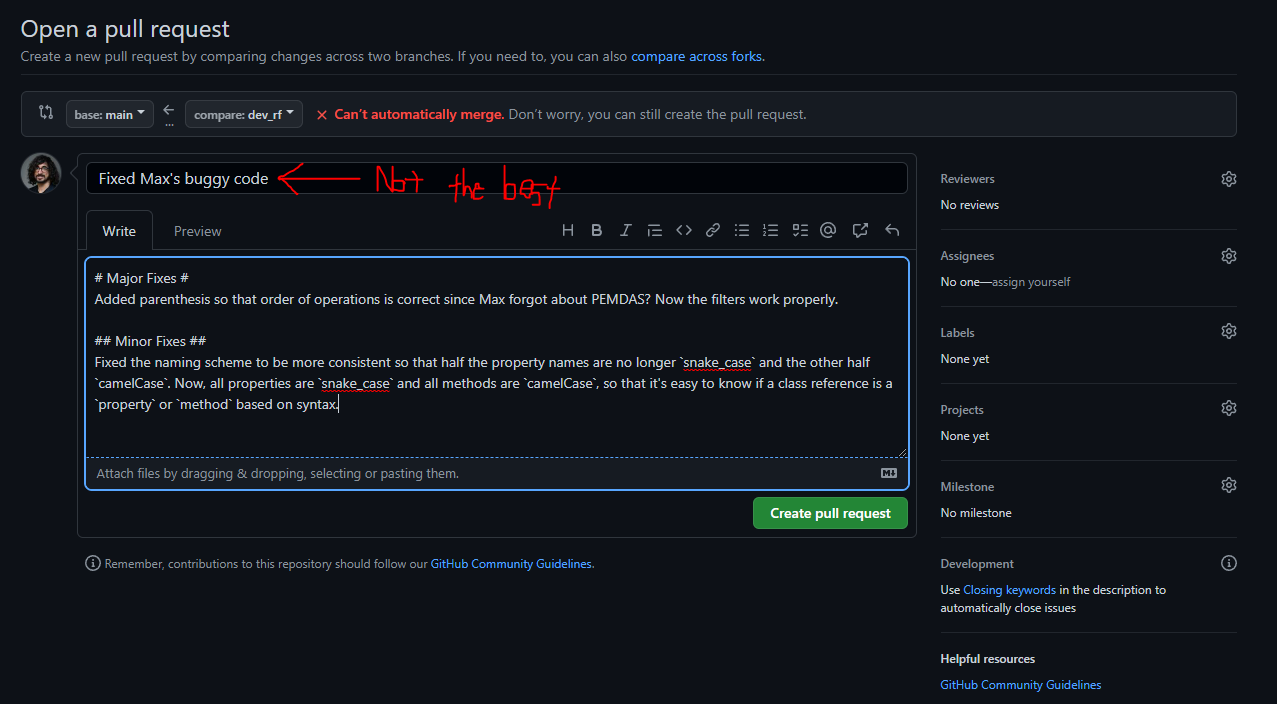 Rawan has fixed a major bug in Max’s code where he forgot about order-of-operations and broke all the important filters. The body of this pull-request is helpful because it breaks down changes into large and small ones (although arguably, the schema change is a major change, but it is “less-critical” for direct performance and therefore here it is put in the “Minor” changes category). The note about
 snake_case and camelCase property and method names is helpful to reviewers because it makes it really obvious why all of a sudden there are a hundred lines of code that have changed, and that most of them can just be accepted without much thought since it is just a syntax thing. On the other hand, the title is probably not the best as it will not be helpful in the future in remembering specifically what this request was about, at-a-glance.
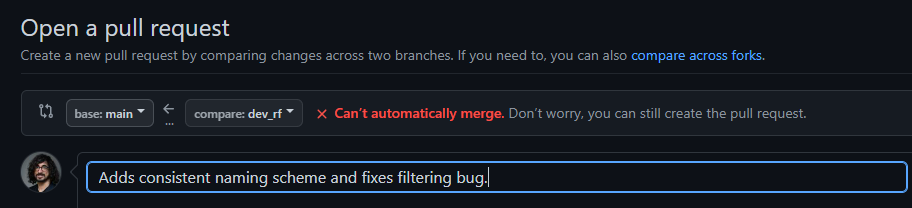
The updated title lets us know quickly what this pull-request was about. Because when we go to merge the changes into main at the end of the pull request, this title will be used in generating the commit descriptor, it’s encouraged to keep this short but informative.
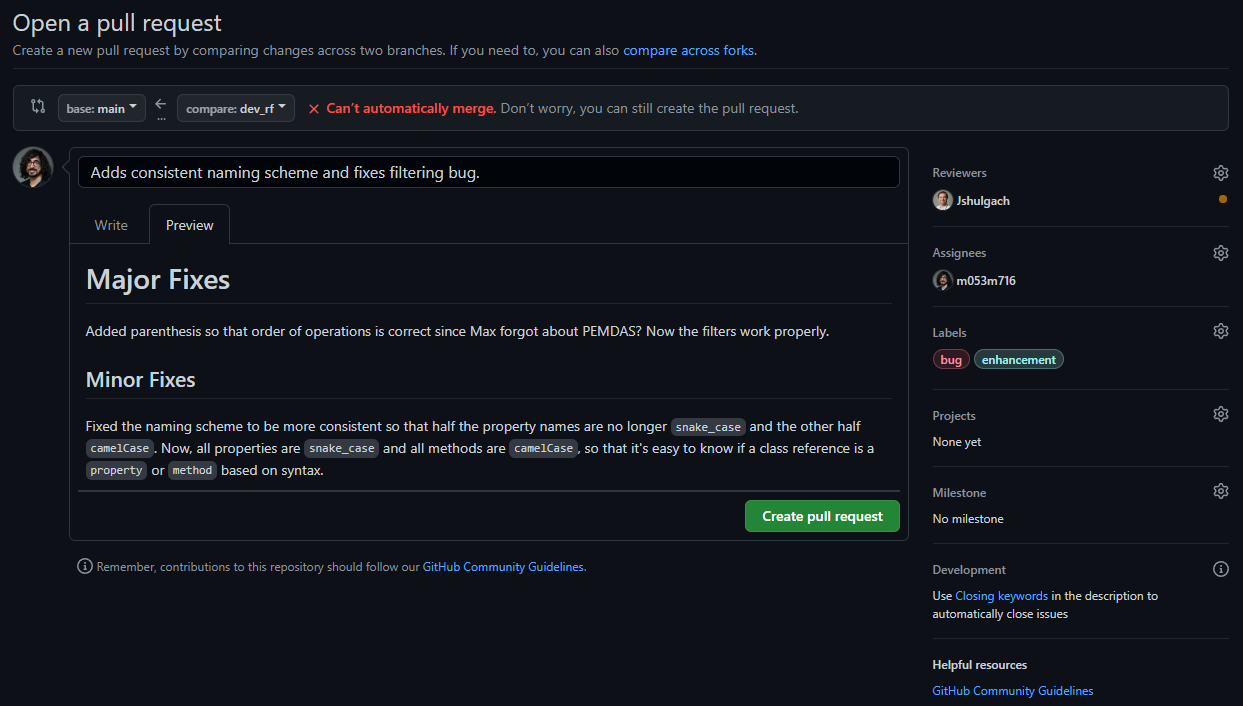
You can click the Preview tab to see how the edits look with the markdown formatting applied. Also, note that on the right-hand side, it is helpful to assign a Reviewer at the very least (but encouraged to add Labels).
 Once you click the
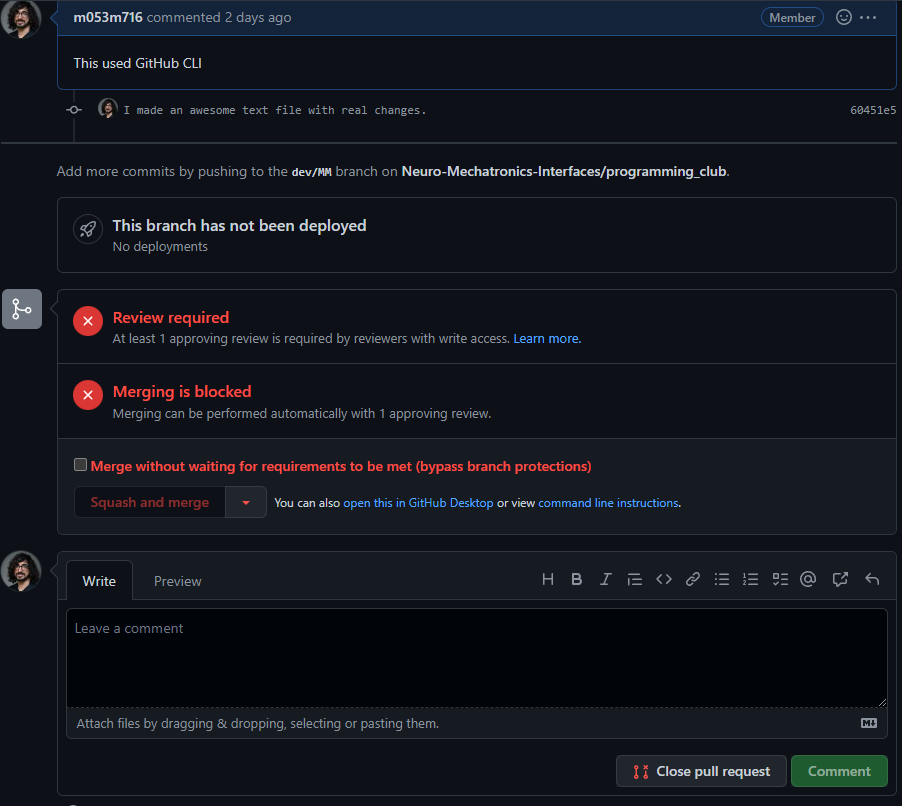
 Create pull request, an issue tracker style thread will be created, to which the reviewer can add their feedback and code reviews. In this case, no body is added to the pull request because it is just an example pull request generated using the GitHub CLI interface, which is a little more limited than the web interface. This particular repository does not allow the pull request submitter to approve and merge the pull request–another individual in the repo must do this. If you would like to have pull requests just to form an internal documentation mechanism, you can set the permissions of your own repository so that the pull requester can also accept and close pull requests, again this should be decided between you and your collaboraotrs.
When you go to Accept the pull request via the web interface, there is an option to Merge or Merge and Squash – I typically choose to Merge and Squash as this will collapse the many commits from the side branch coming back into main into one “merge” commit, so it keeps your main tree a little cleaner and in theory lets you track the progress of the repository a little easier.
Summary
This SOP is straightforward: when collaborating, develop locally on your own dev/<INITIALS> side branch. Determine with your collaborators whether it is a good time for you to merge your side branch into main. Before submitting the pull-request, rebase your side branch if it is not current with the most-recent commit on main. Then, submit your pull-request from dev/<INITIALS> into main, add some helpful comments to the body of the pull request using the GitHub web interface, and assign at least one reviewer who must then approve the changes before they are merged into main.
Related
-
If you have not worked with
gitor do not know (or have heard of but are unfamiliar with)ssh, then you’ll want to go to the credentials tutorial. -
If you are looking for a simple tutorial with an example repo that lets you learn how to do a pull request, then you’ll want to go to the contributing tutorial.